The Complete Guide
Framing Fine Art Prints
Elevate Your Décor with Expert Tips
The Complete Guide to Framing Fine Art Prints
Elevate Your Décor with Expert Tips
Edgar Degas once said, "The frame is the reward of the artist." Respectfully, I disagree 💛 The frame is the reward of the collector. With so many aesthetics to consider, a wealth of materials to choose from, I prefer to let collectors choose their own frame for my art to ensure it reflects their personal style.
I'm here to help you make the best decision on a few of the finer points of framing outside of style so that your art looks its best and lasts a lifetime (or more!)
Framing canvas art prints is a crucial step in enhancing their appeal and protecting them for years to come. In this comprehensive guide, we'll explore the ins and outs of framing canvas art prints, ensuring your art shines in any setting.
NOTE: The purpose of this guide is to bring awareness to the different methods and processes available to you when framing a canvas art print. Use this information to prepare yourself when speaking to a framer.
Part One
Choosing a Frame
It can be overwhelming to find a frame style that both suits your new canvas art print and fits your decor! Let's explore the options!

Frame Material
When selecting a frame for your canvas art prints, it's essential to consider the material, as each offers distinct advantages and aesthetics. Let's explore the pros and cons of different frame materials.
By considering the pros and cons of different frame materials, you can make an informed decision that enhances the beauty and longevity of your canvas art prints.
Option One
Wood Frames
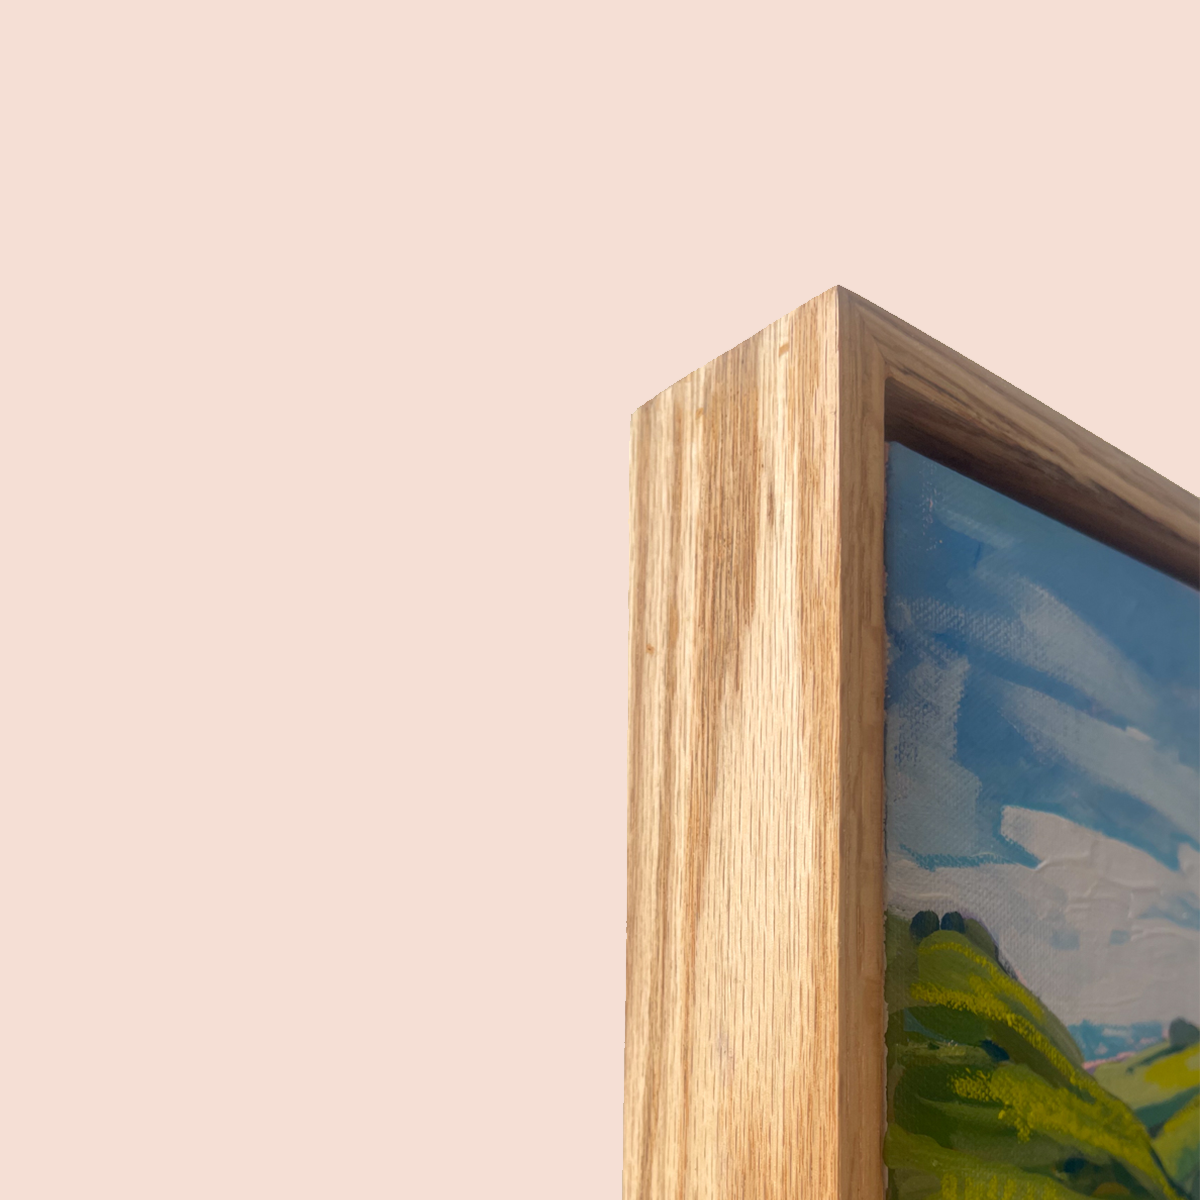
Wood frames exude warmth and tradition, making them a timeless choice for any artwork (and my personal favourite). Different woods like oak, cherry, and mahogany can create dramatically different results, but can also be more costly than others.
Pros
Versatility
Available in various finishes and styles, from rustic to polished, allowing for customization to suit different artworks and décors.
Durability
High-quality wood frames are sturdy and long-lasting, providing reliable support for your canvas art prints.
Cons
Cost
Solid wood frames can be more expensive than other materials, particularly for premium hardwoods.
Susceptible to Moisture
Wood frames may warp or degrade if exposed to high humidity or moisture, requiring proper maintenance.
Option Two
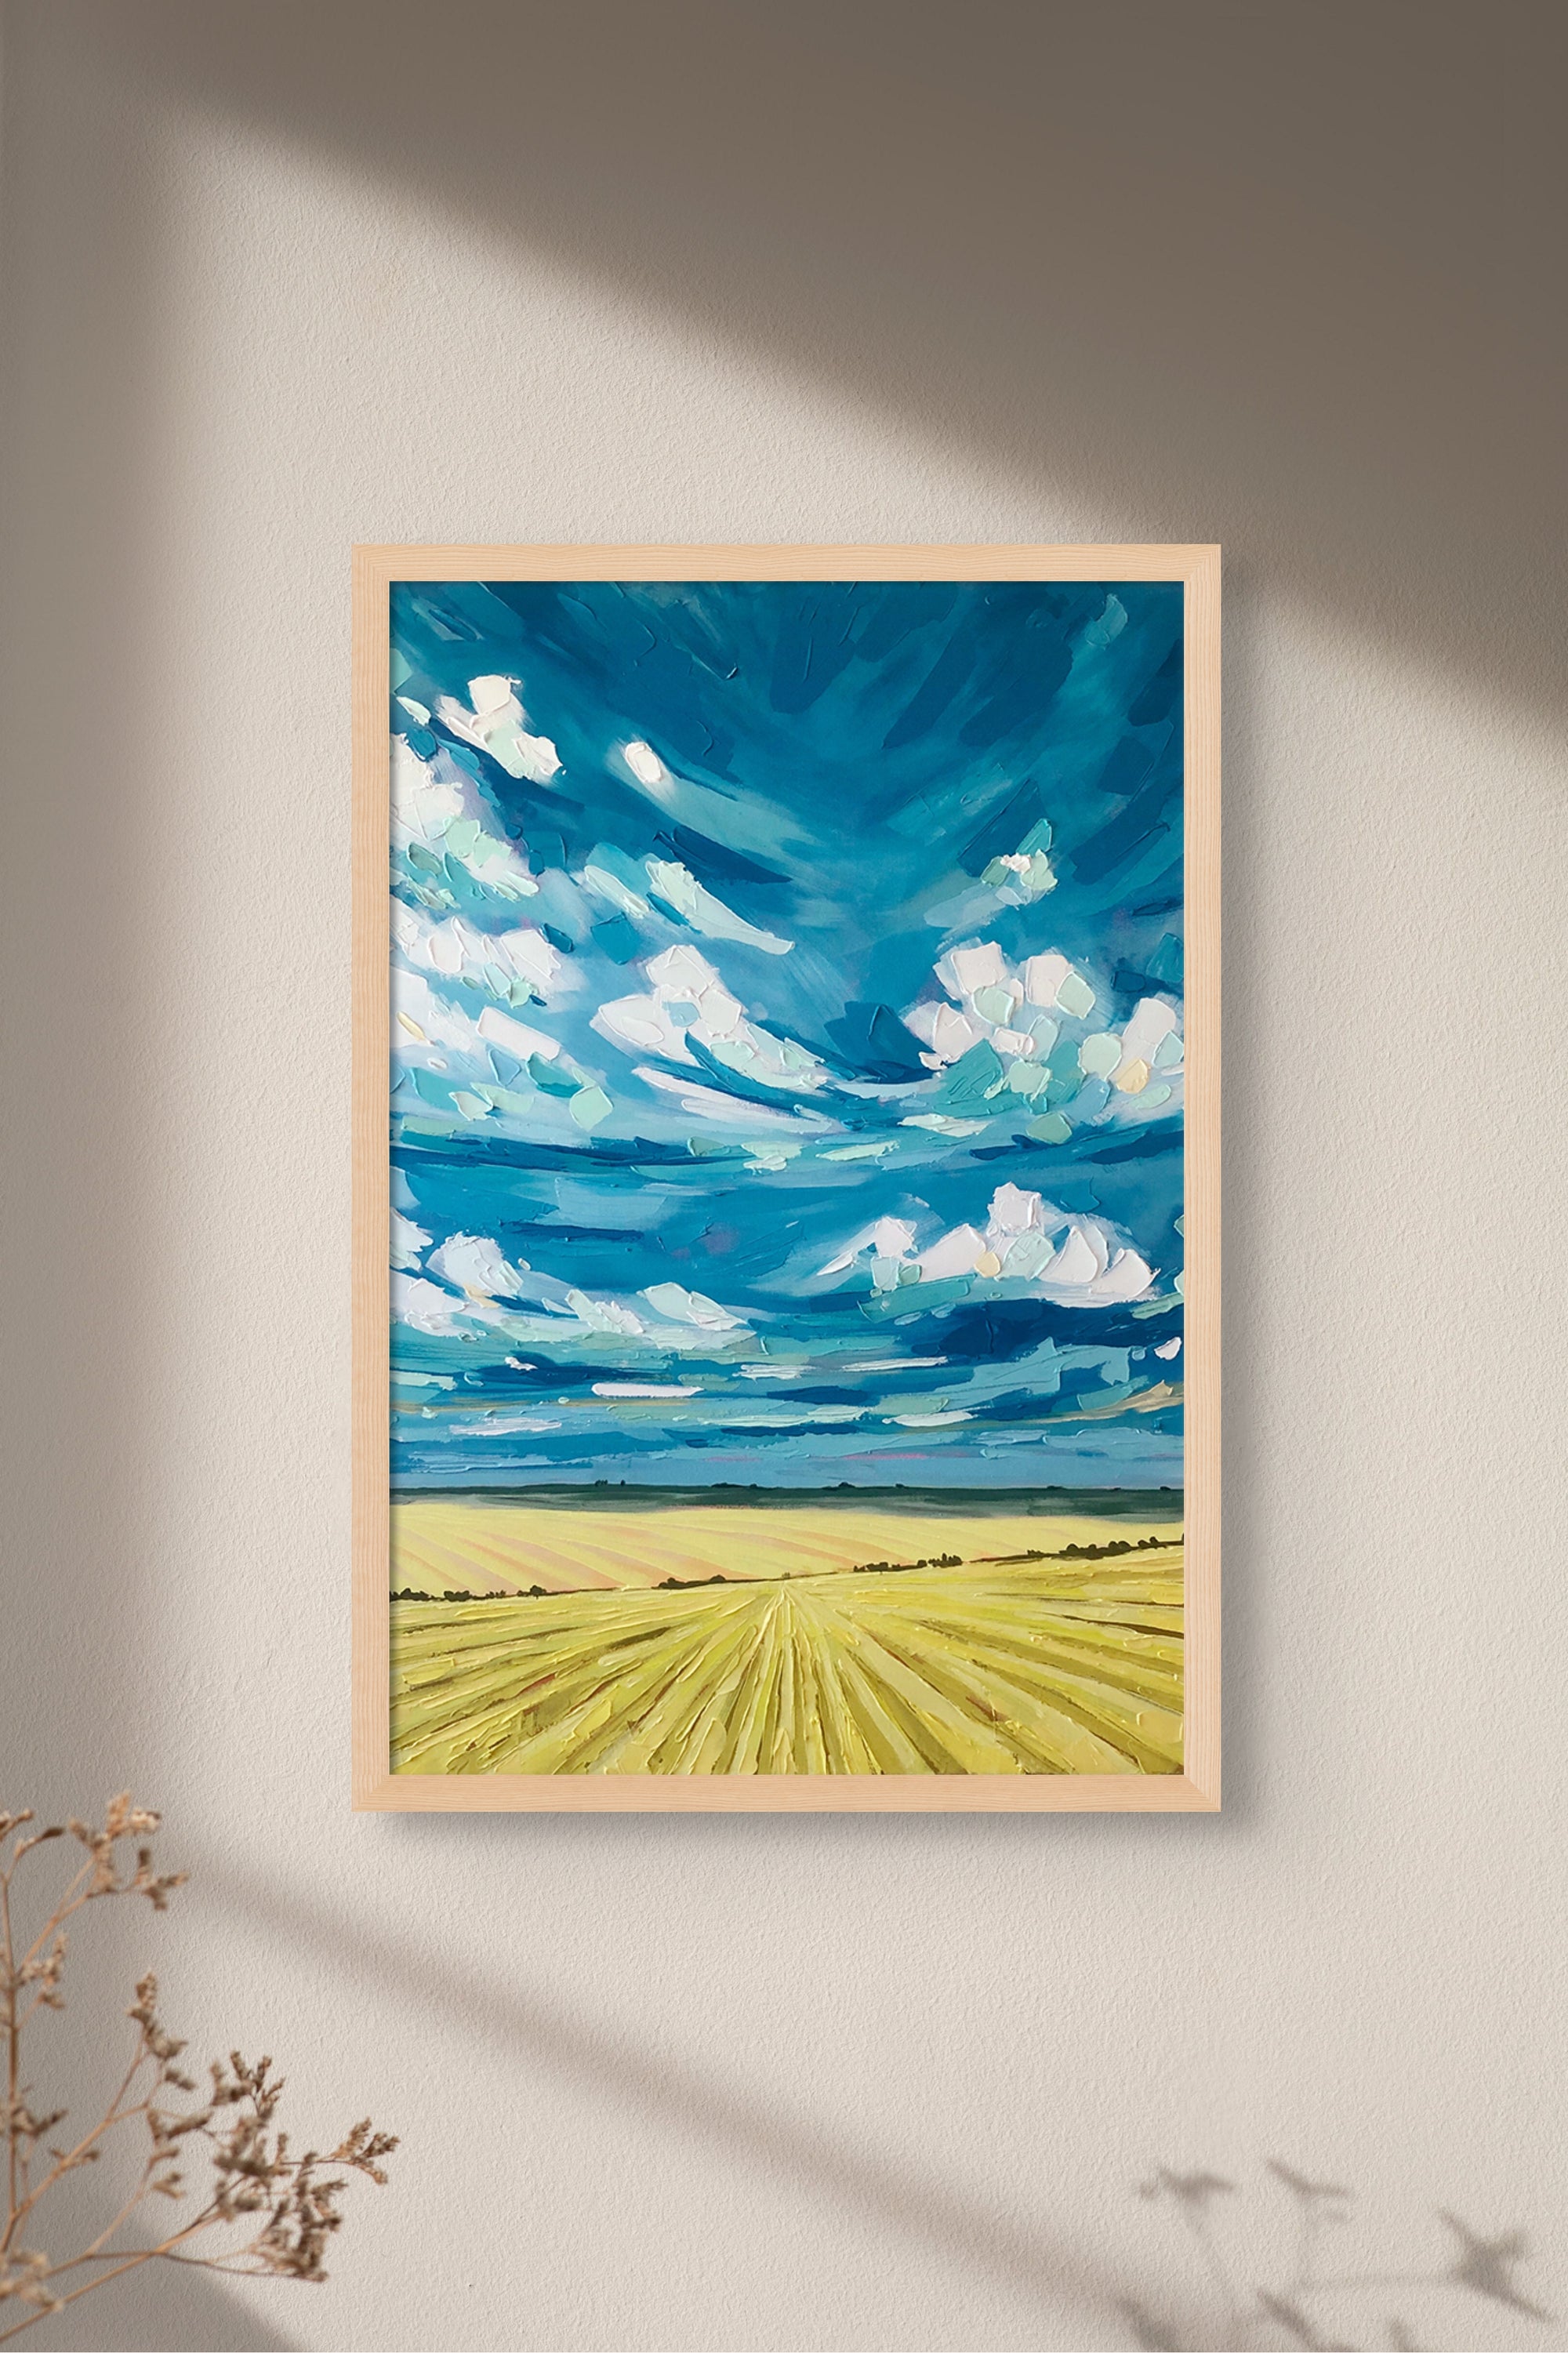
Metal Frames
Metal frames offer a sleek and contemporary aesthetic, perfect for minimalist and industrial décors.They can also be used to create an old-world vibe using metals like brass or distressed metals.
Pros
Strength and Stability
Metal frames are lightweight yet robust, providing excellent support and durability for your canvas art prints.
Variety of Finishes
Available in a wide range of finishes, including brushed aluminum, matte black, and antique brass, allowing for versatile styling options.
Cons
Limited Warmth
Metal frames may lack the warmth and organic feel of wood frames, which may not suit all artworks or settings.
Potential for Scratching
Some metal finishes may be prone to scratching or surface damage, requiring careful handling and maintenance.
Option Three
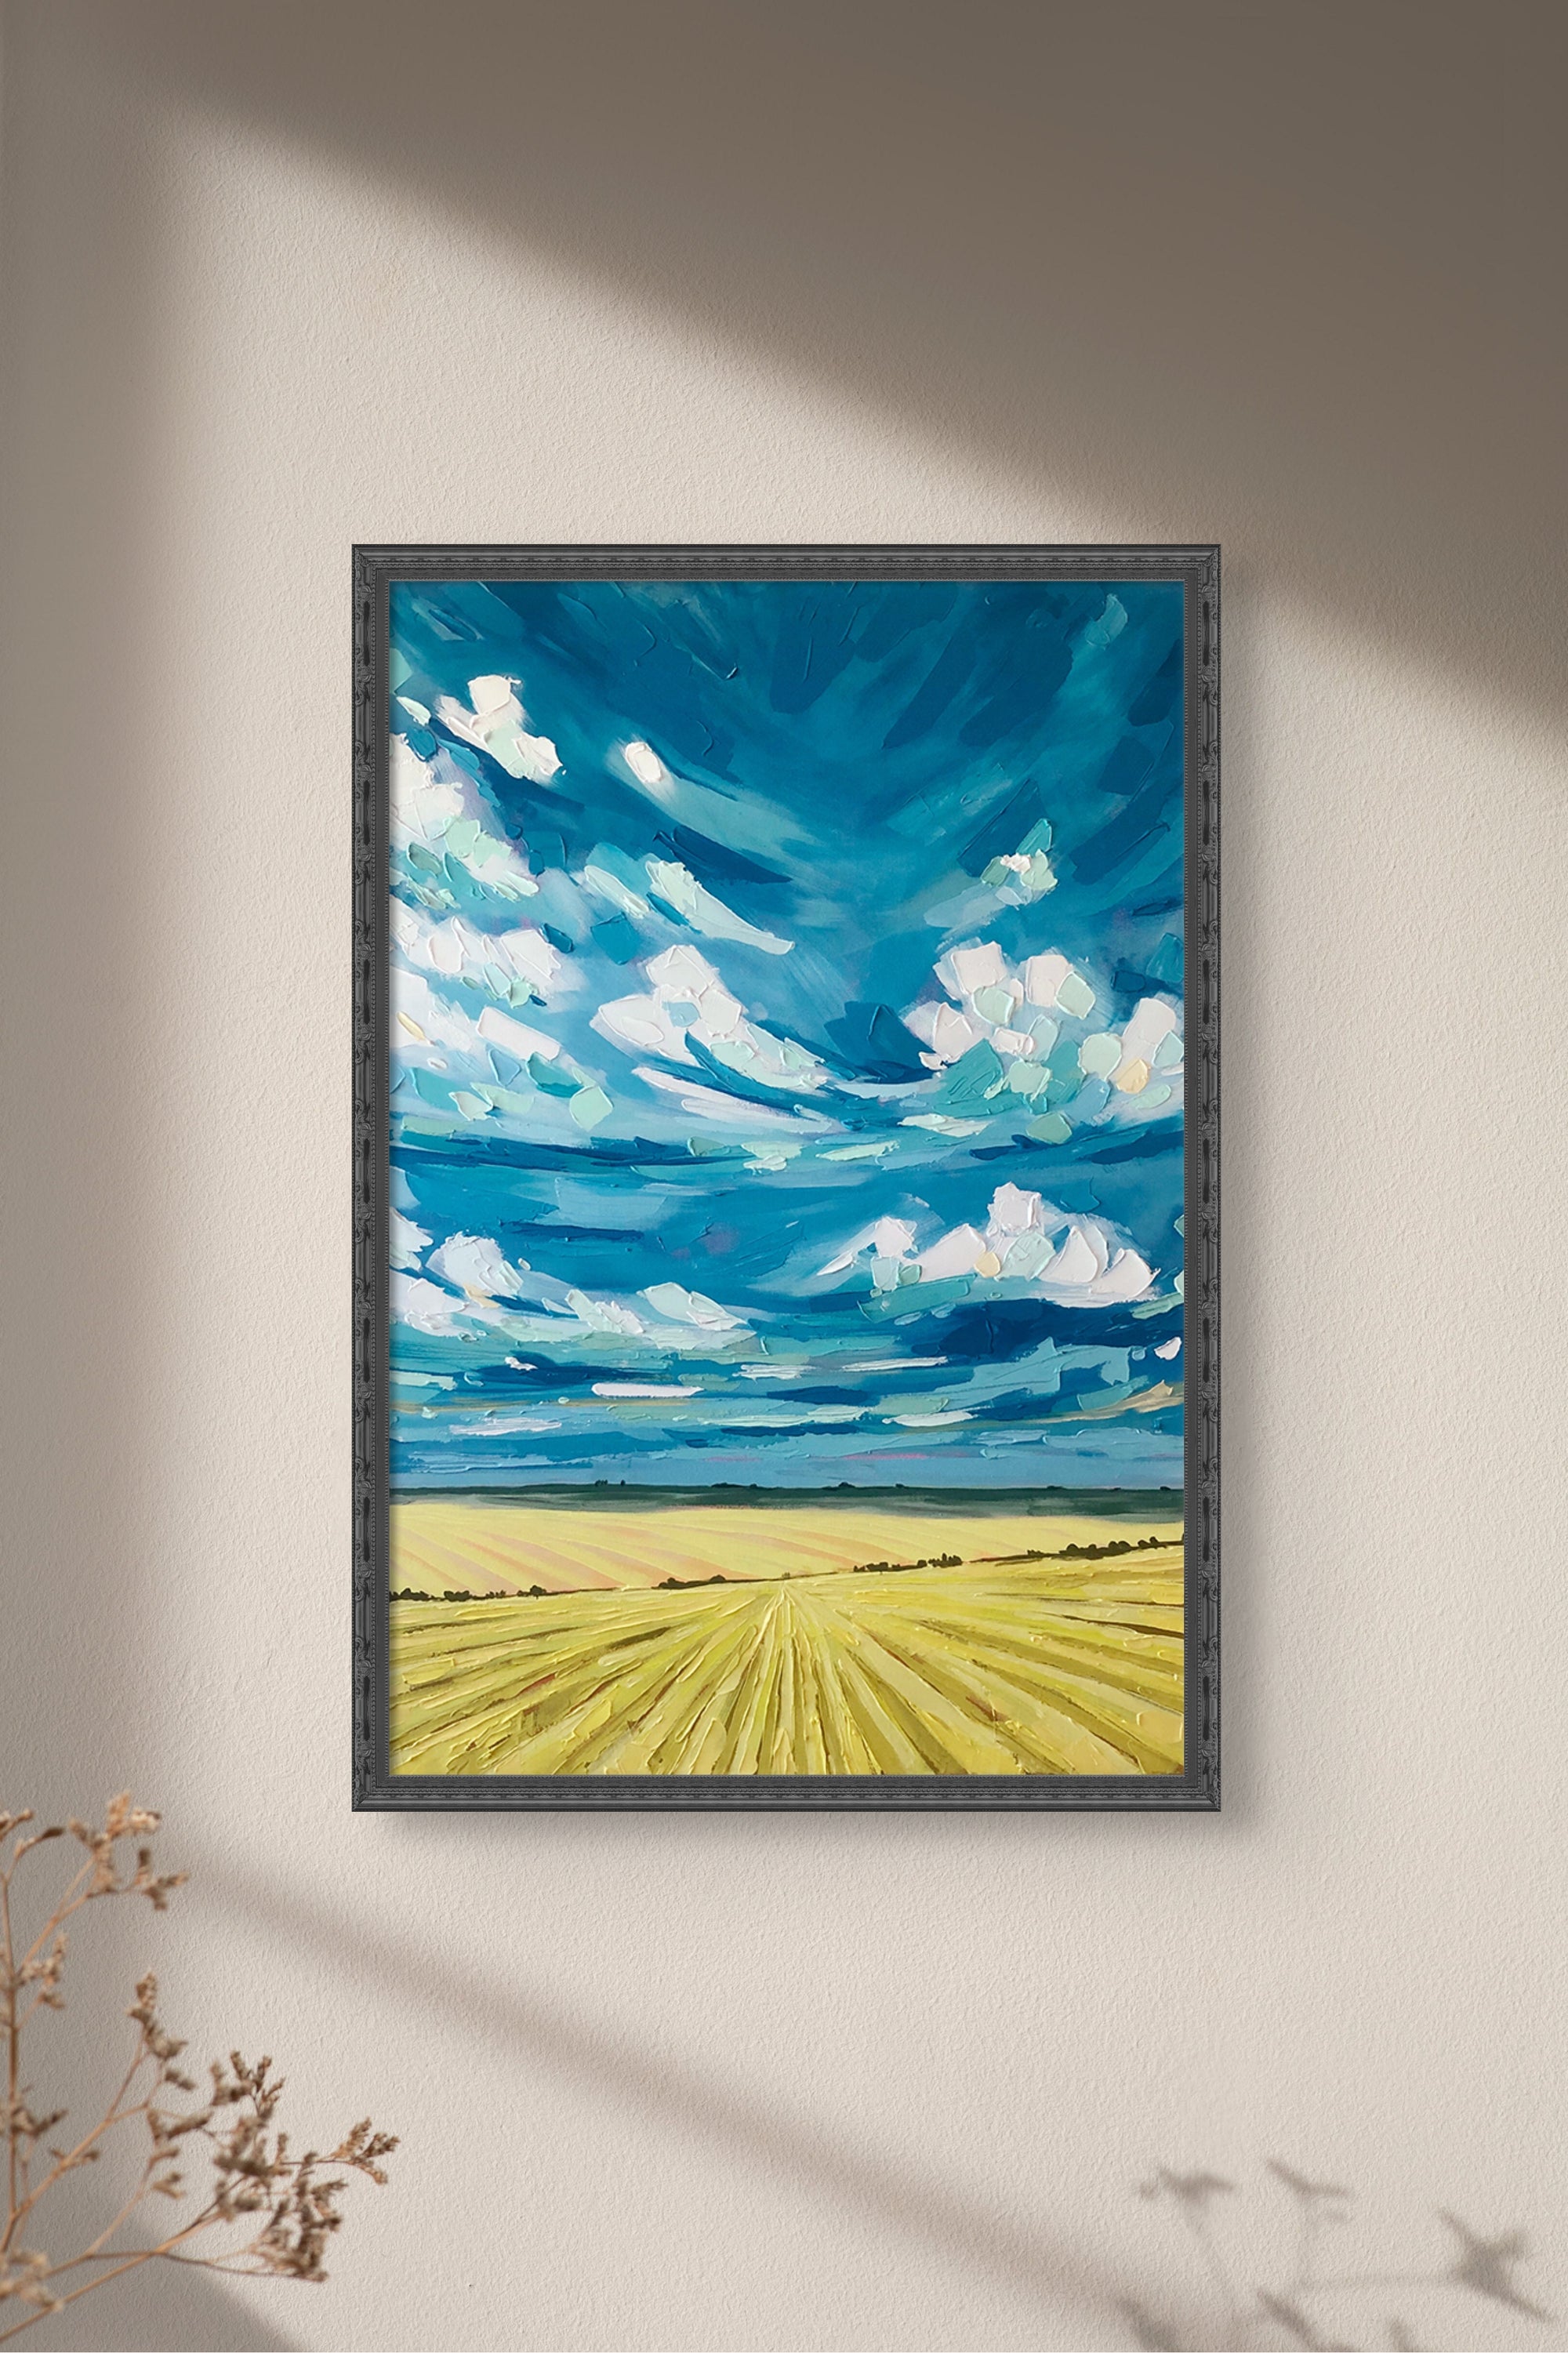
Composite Frames
Composite frames, made from engineered materials like MDF (medium-density fiberboard), offer a budget-friendly option for framing canvas art prints, as well as provide consistency and durability.
Pros
Consistency
Composite frames provide uniformity in color and finish, ensuring a cohesive look across multiple artworks or frames.
Moisture Resistance
Unlike solid wood frames, composite frames are less susceptible to warping or degradation from moisture, making them suitable for humid environments.
Cons
Less Prestige
Composite frames may lack the perceived value and authenticity of solid wood or metal frames, which could affect the perceived value of the artwork.
Limited Customization
Composite frames may offer fewer options for customization compared to wood or metal frames, limiting creative freedom in framing choices.
Part Two
Sizing Your Frame
Most of my prints will fit standard frame sizes, but if they don't, or you want to pair my work with art that isn't a standard size, here's some tips!

I'll be honest, accuracy isn't my specialty. I don't even use a level when hanging pictures. Oops! When it comes to frame sizing, though, I don't mess around. Accurate measurement is crucial for achieving a flawless framed print and challenges will come if you don't approach this part with care and precision. Let's navigate them together!
Common Pitfalls
Inaccurate Measurements
One of the most common pitfalls is taking inaccurate measurements, leading to ill-fitting frames. Avoid this by using high-quality measuring tools such as a ruler or tape measure and double-checking measurements for accuracy.
Ignoring Frame Depth
Failing to consider the depth of the frame can result in the artwork not fitting properly or protruding awkwardly. Ensure the frame depth accommodates the thickness of the canvas without compressing or distorting it.
Underestimating Matting Needs
If you plan to include matting in your framing, underestimating the amount needed can lead to gaps or uneven borders. Always calculate matting requirements accurately, considering both the outer dimensions of the frame and the inner dimensions needed for the artwork.
Forgetting About Visual Balance
Sizing the frame without considering the visual balance within the room can detract from the overall aesthetic. Avoid this by assessing the scale of the artwork in relation to the surrounding space, ensuring it harmonizes with other elements such as furniture and décor.
Neglecting to Account for Mounting Hardware
Forgetting to factor in the space needed for mounting hardware can result in the frame not sitting flush against the wall or hanging unevenly. Be sure to include the additional clearance required for hooks, wires, or brackets when determining frame size.
Tips for Sizing Success
Part Three
Mounting and Stretching
I recommend having a professional do any mounting or stretching of canvas art prints, but for the DIYers out there, here's a few tips!

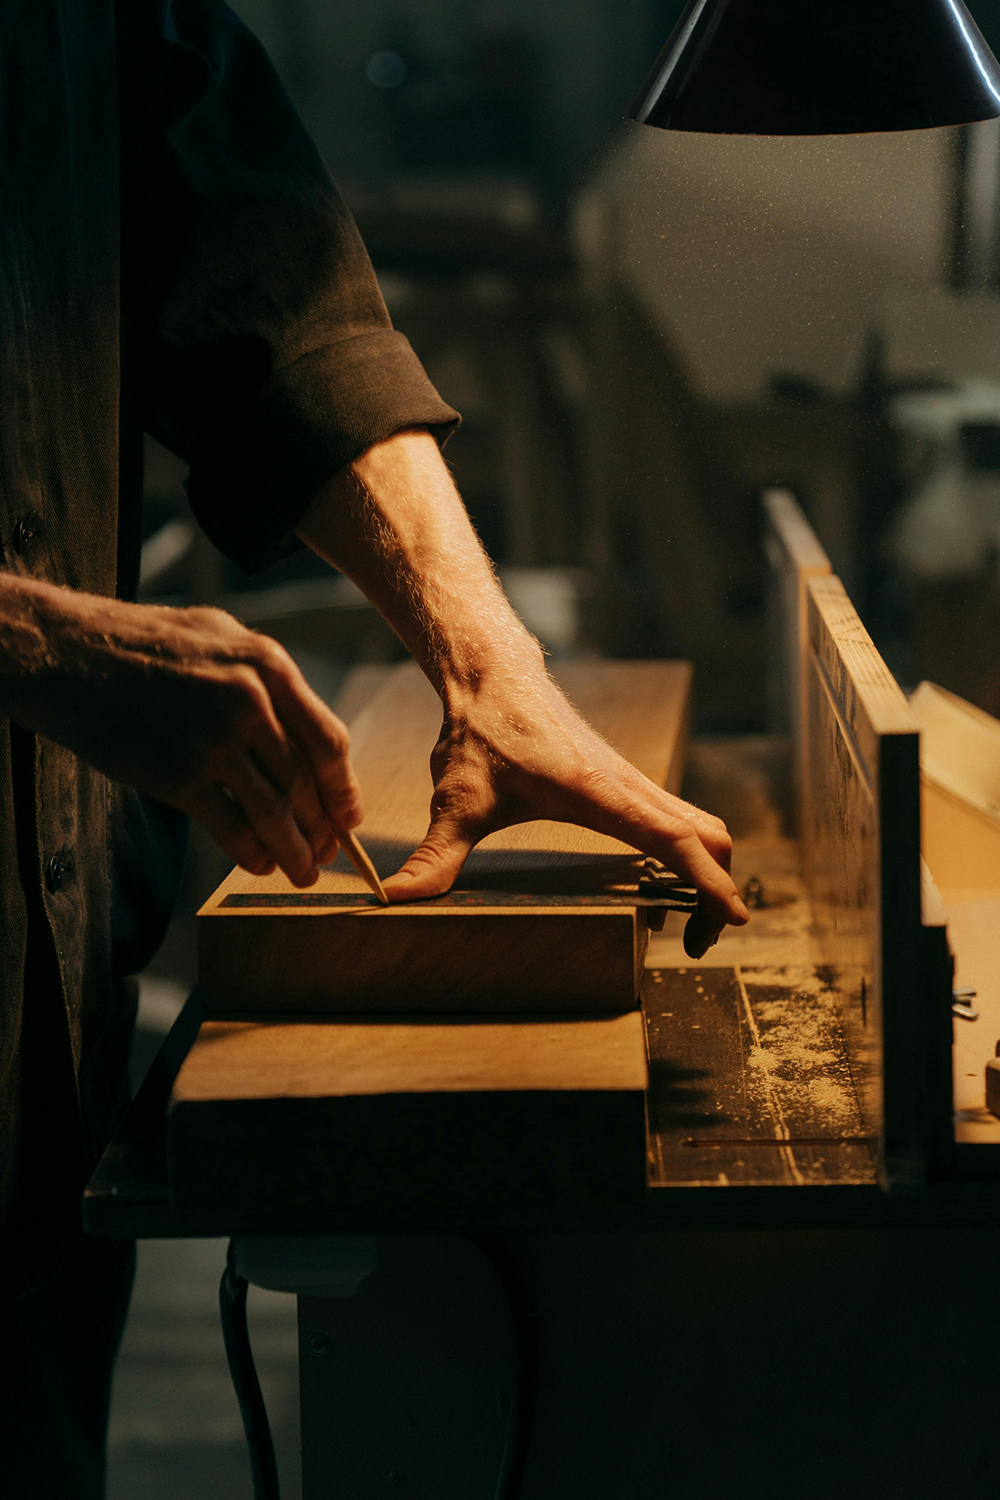
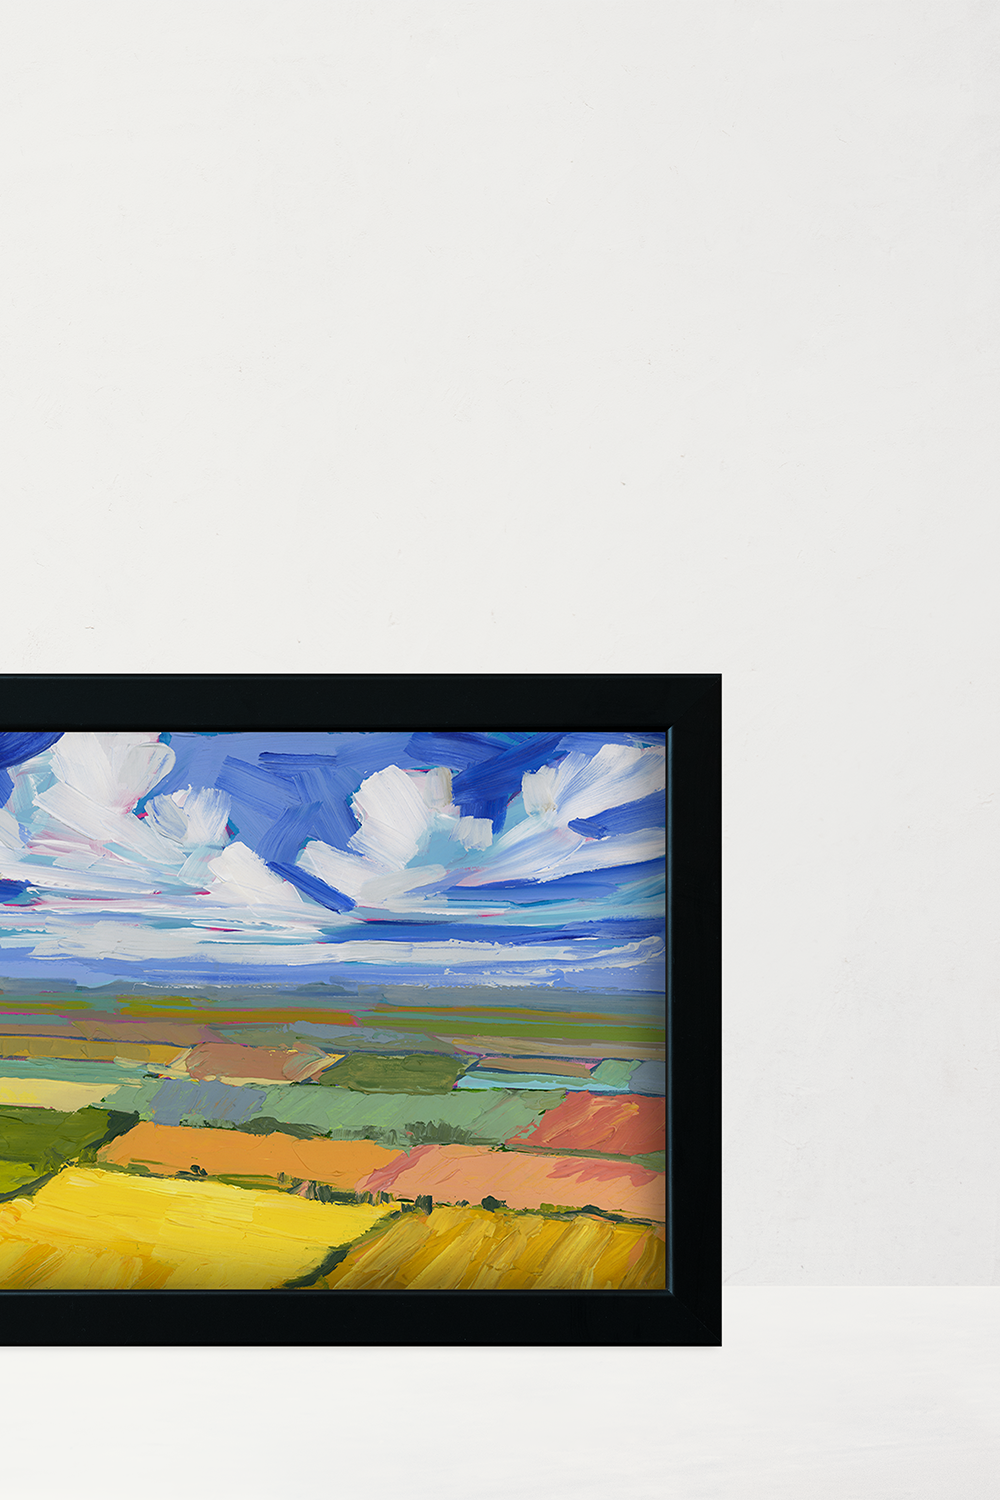
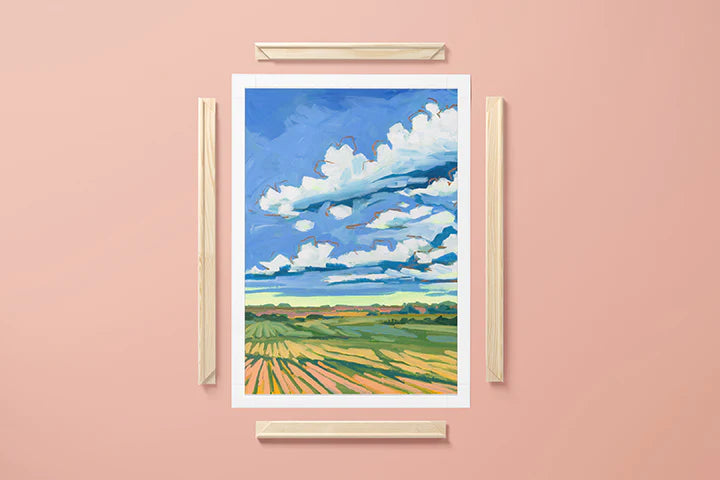
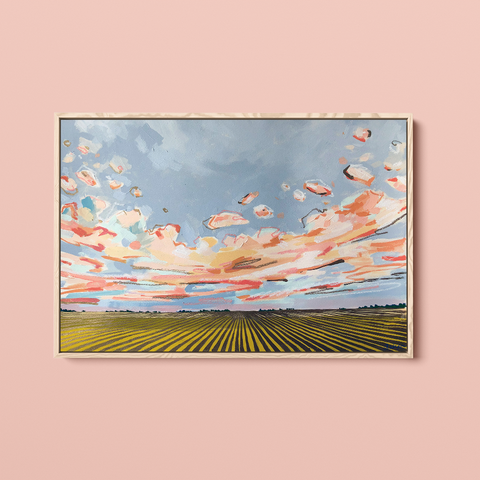
Proper mounting and canvas stretching are essential steps in framing canvas art prints, ensuring they are securely held within the frame and maintain their integrity over time. Pictured below are two prints. The first is being prepared for traditional stretching over stretcher bars, the second has been gallery wrapped and placed in a floater frame. We'll explore both of these techniques, and more, in this section.
Mounting Techniques
Staple Mounting
Staple mounting involves securing the canvas to the frame using staples along the edges of the stretcher bars. This technique provides a secure hold and allows for easy removal or repositioning if needed.
Adhesive Mounting
Adhesive mounting utilizes specialized adhesives or tapes to attach the canvas to a backing board or directly to the frame. While this method can offer a smooth and seamless appearance, it may be less reversible and require careful application to avoid damage to the artwork.
Clamp Mounting
Clamp mounting involves using clamps or clips to hold the canvas in place within the frame. This technique is particularly useful for oversized or irregularly shaped canvases, providing flexibility and ease of adjustment during the framing process.
Canvas Stretching Techniques
Gallery Wrap Stretching
Gallery wrap stretching involves wrapping the canvas around the edges of the stretcher bars, creating a seamless appearance without visible staples or tacks. This method is commonly used for contemporary artworks and allows the image to continue around the edges of the frame.
Stretching Pliers
Stretching pliers are specialized tools designed to grip the canvas and stretcher bars securely, facilitating the stretching process and ensuring even tension. Using stretching pliers can help prevent uneven stretching and minimize the risk of damage to the canvas.
Tips for Successful Mounting and Stretching
If you're brave enough to attempt yourself, follow these tips to help you succeed.
Prepare the Surface
Before mounting the canvas, ensure the surface is clean, dry, and free of dust or debris to prevent any imperfections from showing through the artwork.
Use Proper Tools
Invest in high-quality mounting and stretching tools, such as staple guns, adhesive applicators, and stretching pliers, to achieve professional results with minimal effort.
Check Tension Regularly
Throughout the stretching process, regularly check the tension of the canvas to ensure it remains taut and evenly stretched. Adjust as needed to prevent sagging or wrinkles.
Work Methodically
Whether stapling, gluing, or clamping, work methodically from one side to the other, alternating between opposite edges to maintain balanced tension and prevent distortion.
Allow for Drying Time
If using adhesives or tapes for mounting, allow sufficient drying time before proceeding with framing to ensure a secure bond and prevent shifting or warping.
Part Four
Frame Options
Frame choices don't end at materials, there are also several options that will affect their cost and appearance.

Frame Options
Part Five
Matboards
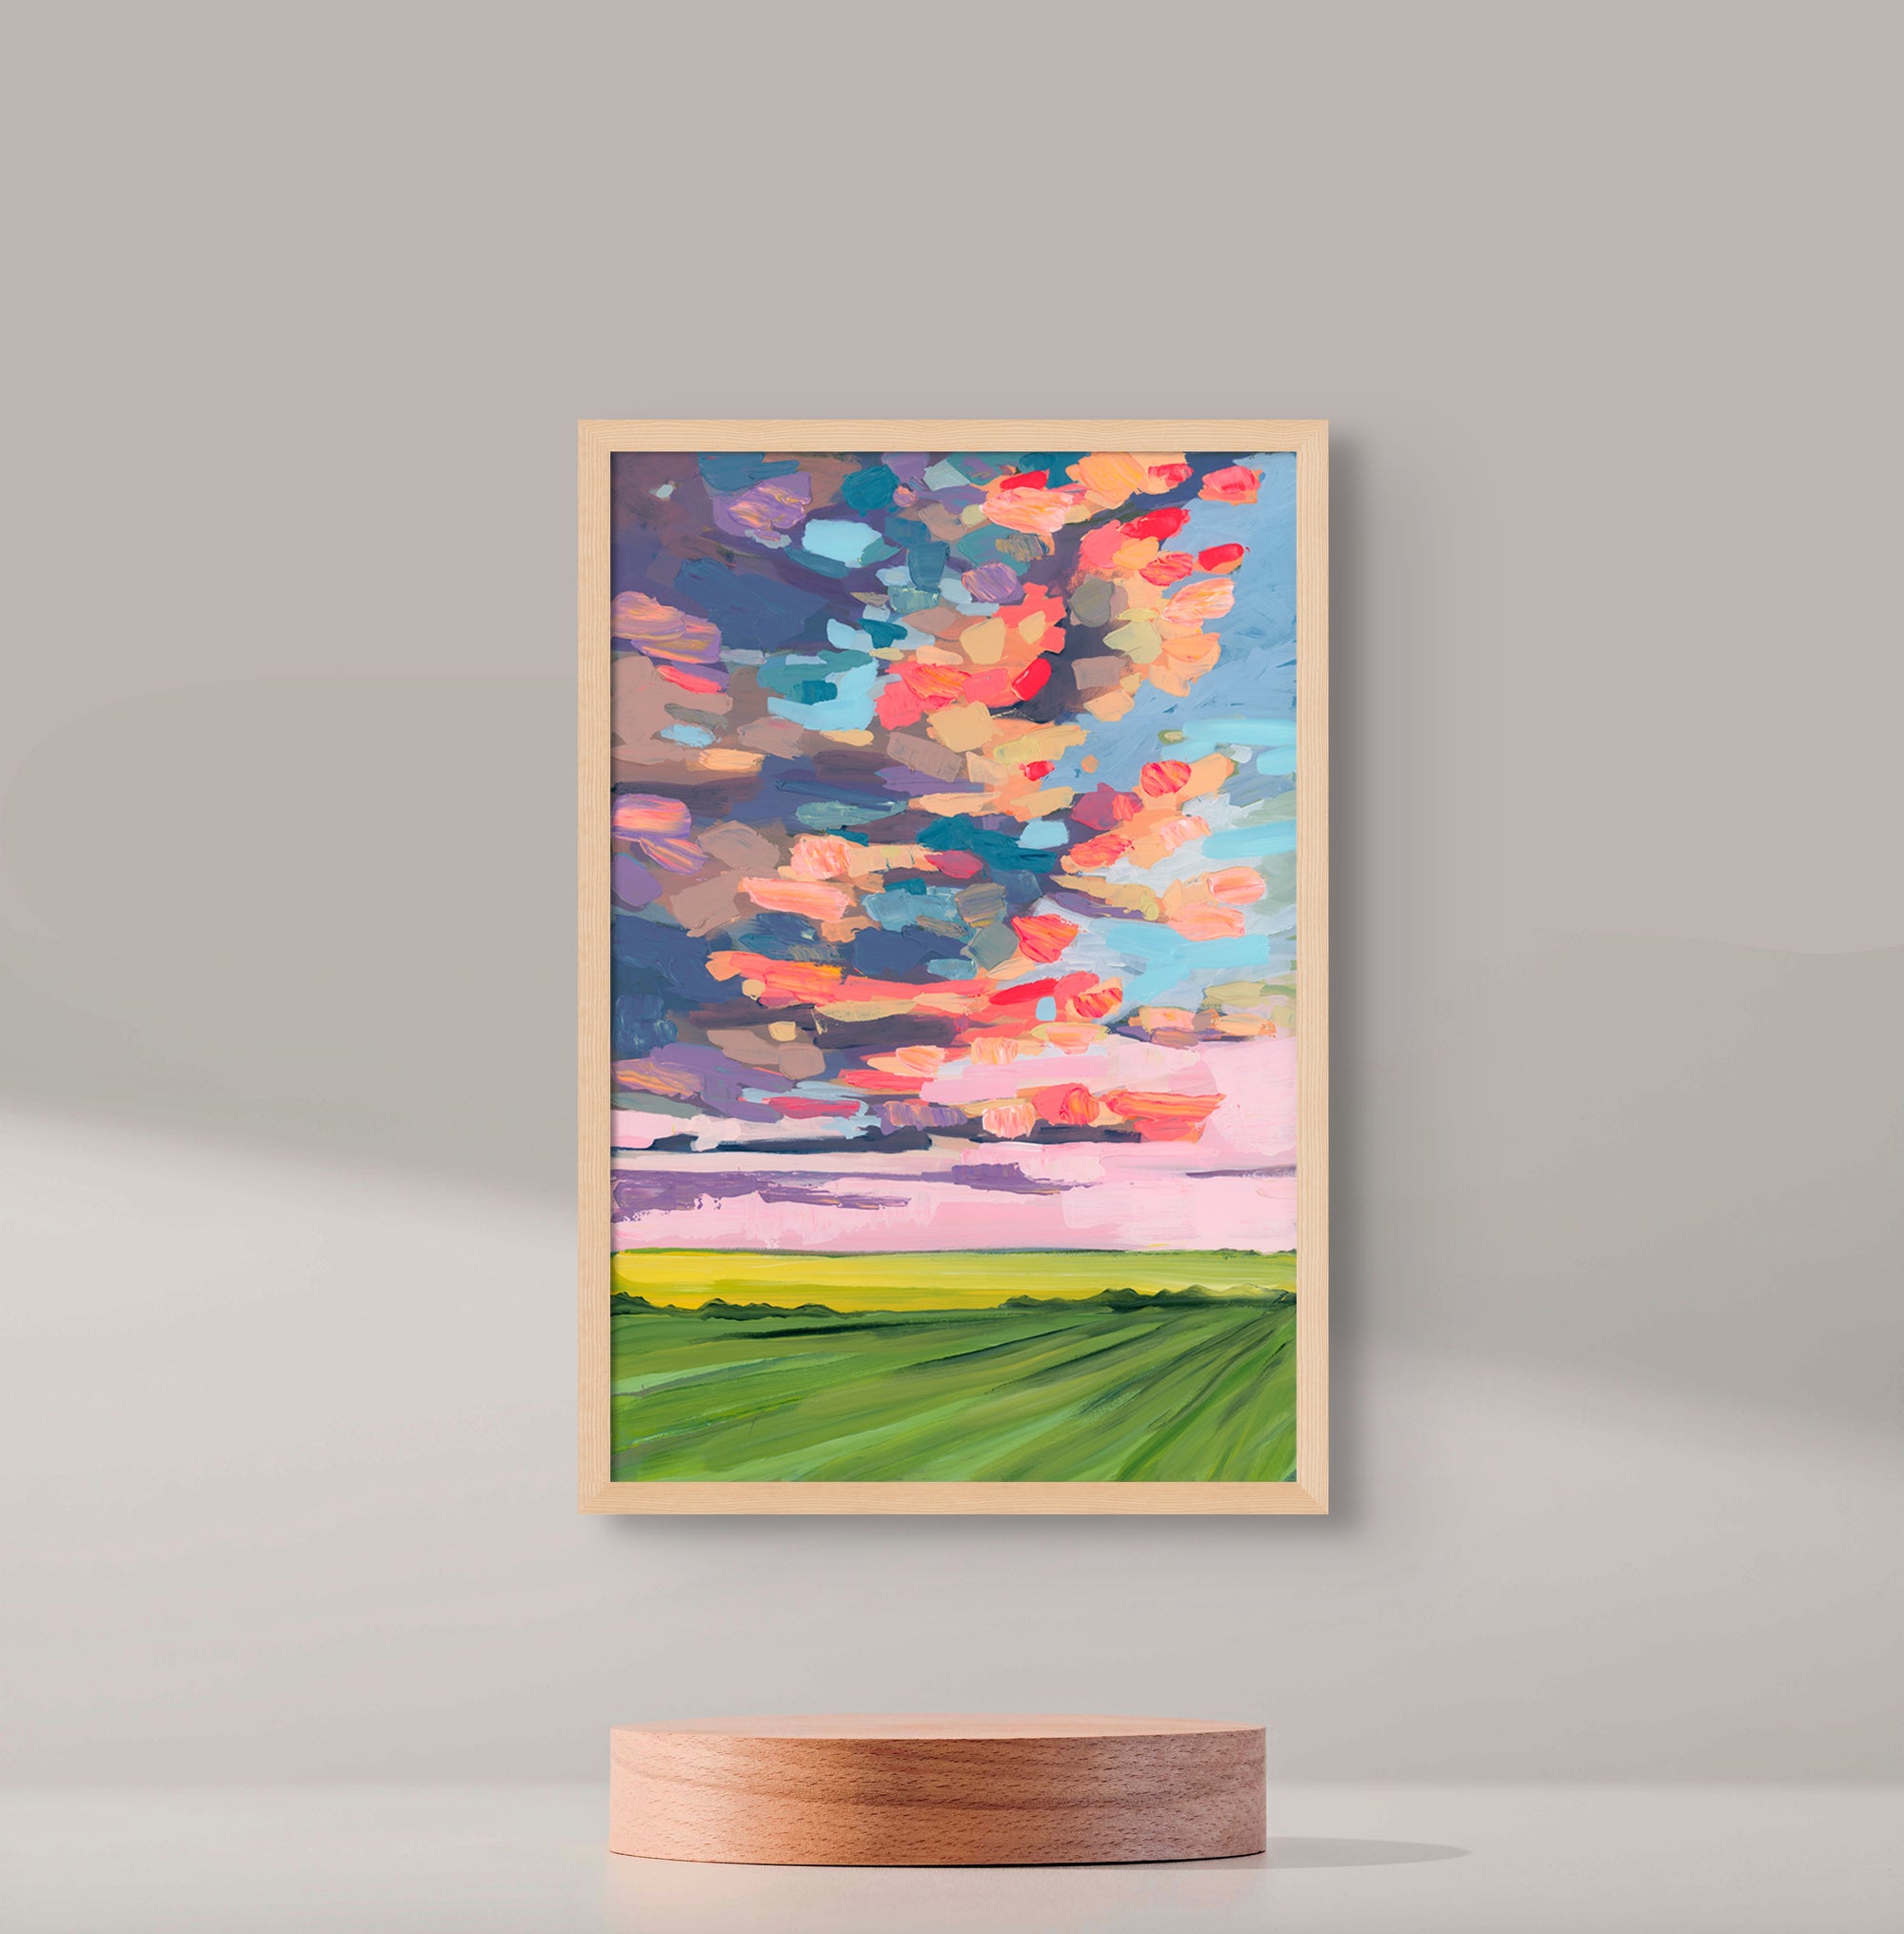
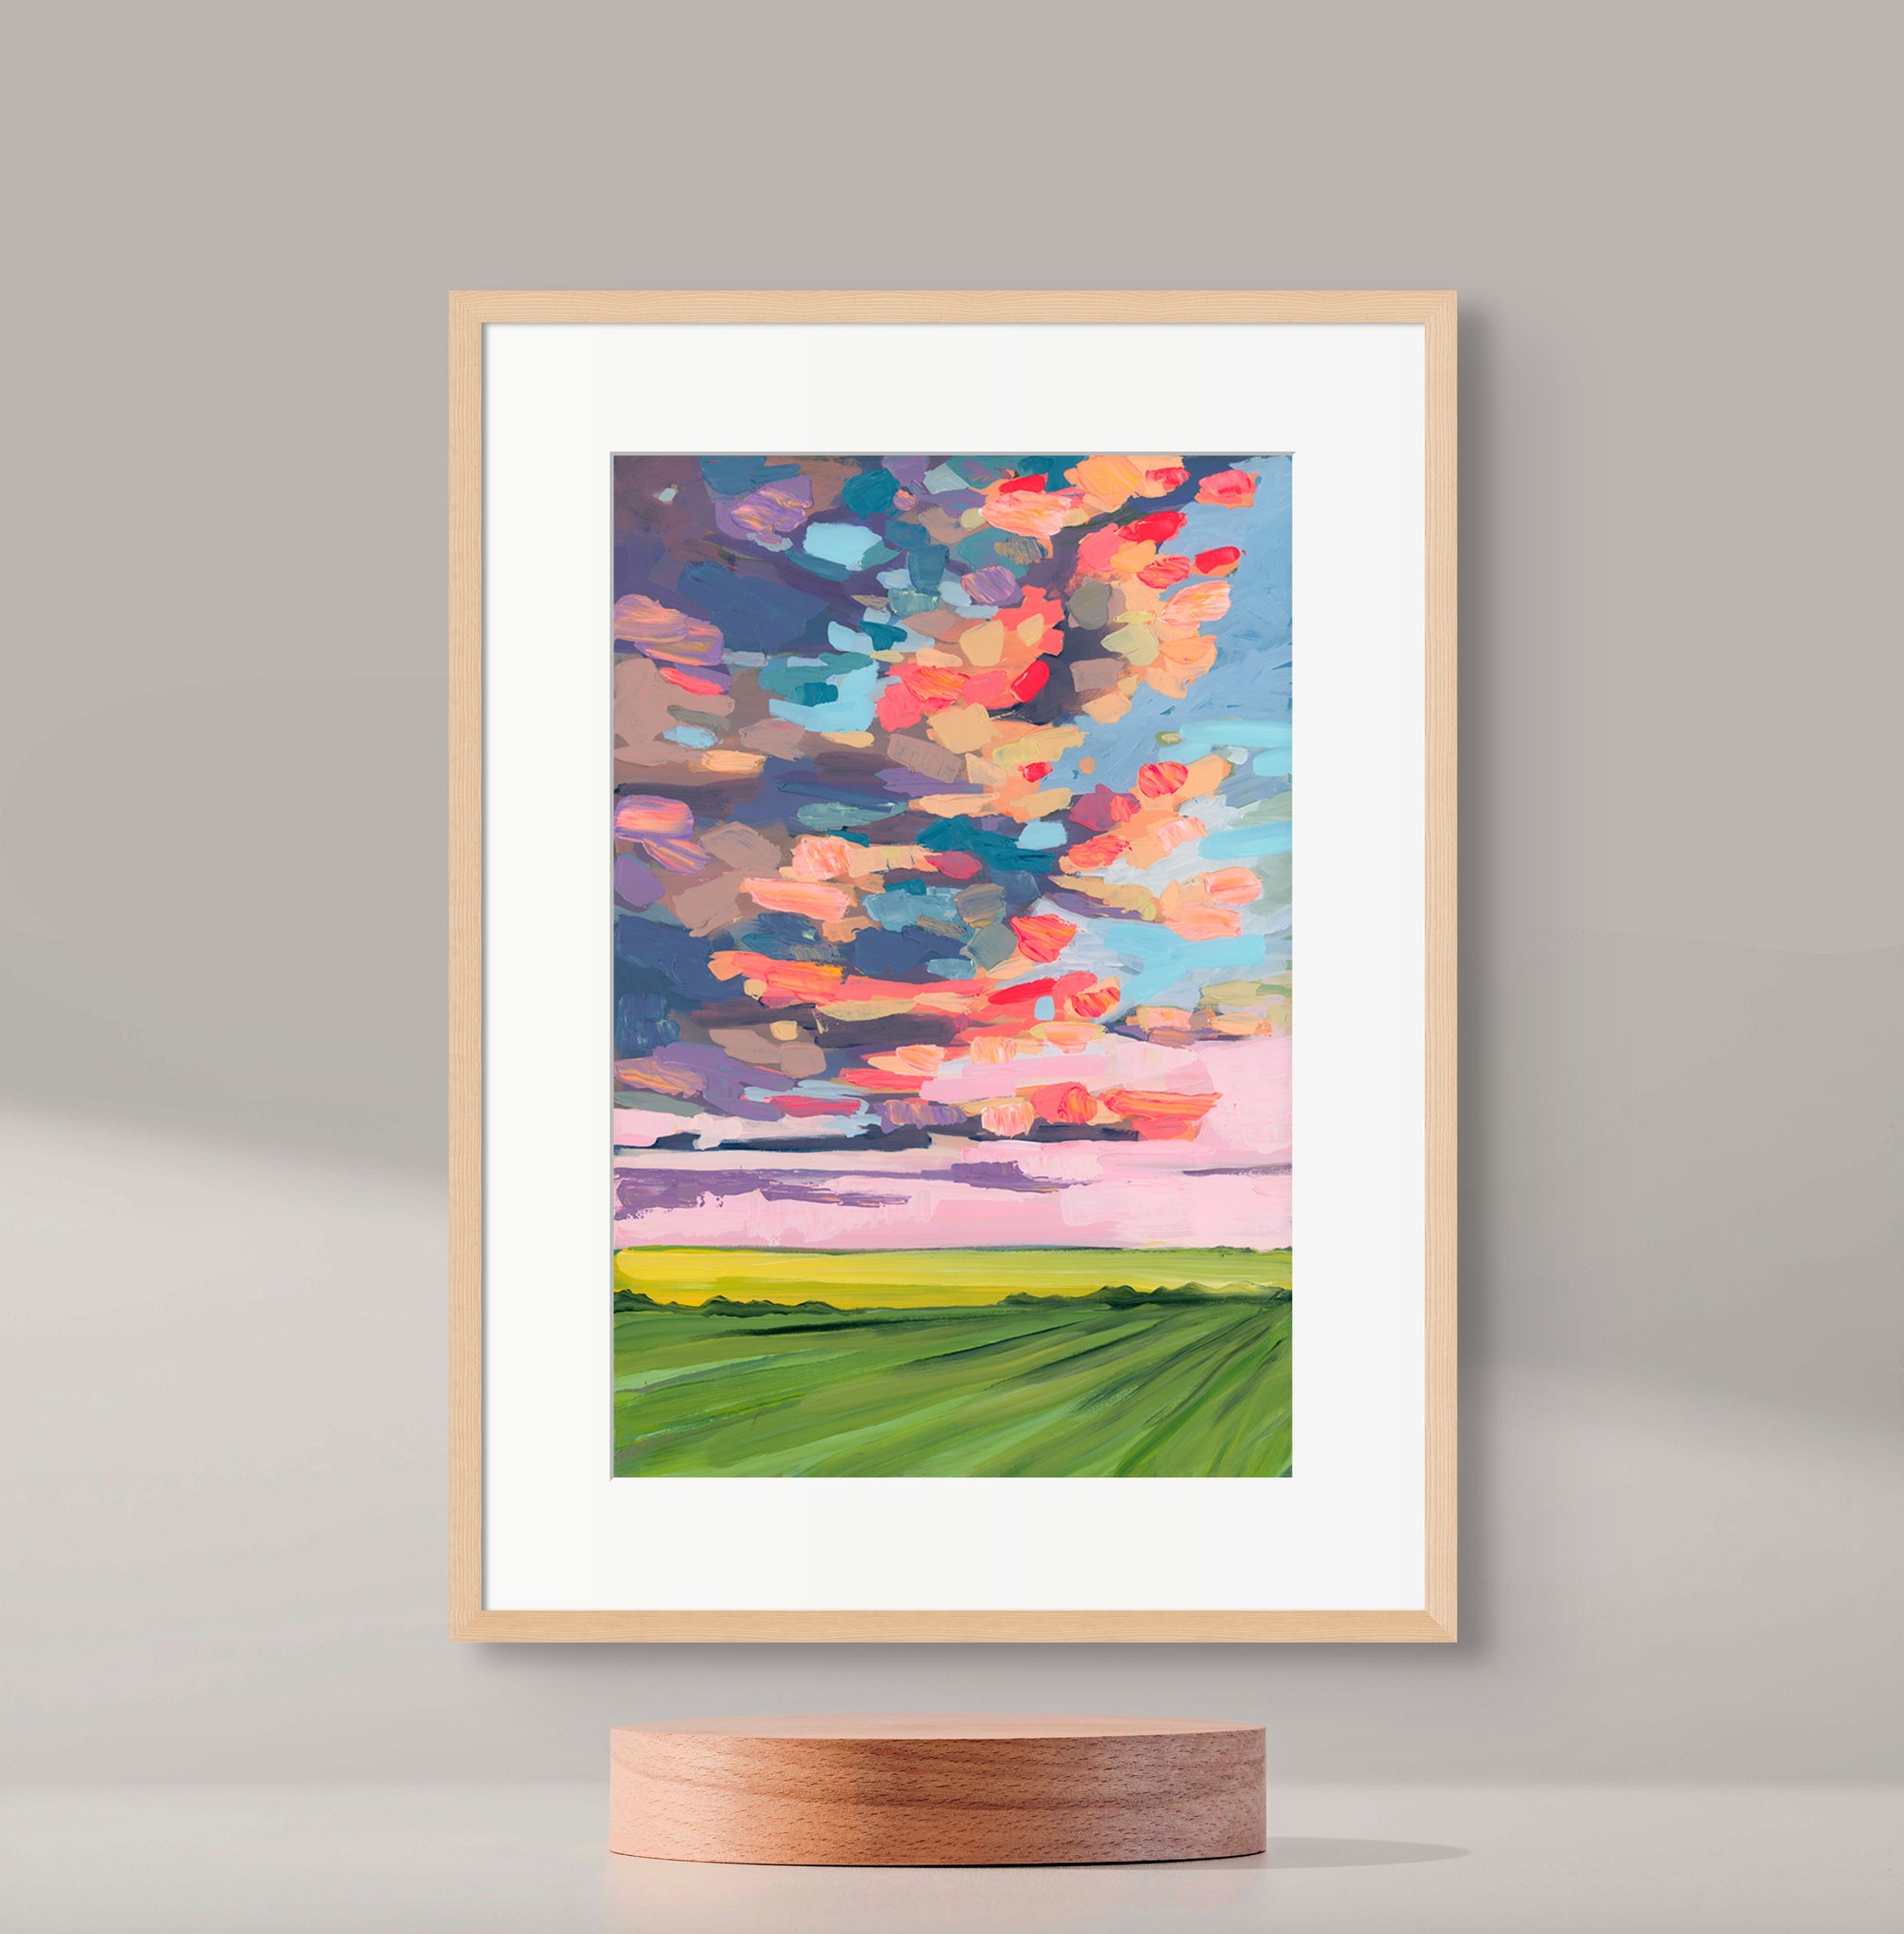
Mat boards are an excellent way to add depth, visual interest, and protection to your framed canvas art prints.

Selecting the Right Matboard
Archival-Quality Materials
Opt for matboards made from archival-quality materials to ensure the long-term preservation of your artwork. Archival mats are acid-free and lignin-free, preventing discoloration and deterioration over time.
Thickness and Colour
Consider the thickness and colour of the matboard to complement your artwork and frame. Thicker mats can add depth and dimension, while color choice can enhance or contrast with the colors in your artwork.
Single or Double Matting
Decide whether to use single or double matting based on the desired aesthetic and framing style. Single matting provides a clean and minimalist look, while double matting adds visual interest and depth.
Enhancing Visual Appeal
Creating Space
Matboards create a space between the artwork and the glazing, preventing condensation and protecting the artwork from sticking to the glass. This space also adds depth and dimension to the framed piece.
Framing Focus
Matboards help draw attention to the artwork by providing a border or transition between the artwork and the frame. Choose a mat color that complements the artwork without overpowering it, allowing the focus to remain on the artwork itself.
Customization
Matboards can be customized with beveled edges, decorative cuts, or multiple openings to showcase multiple artworks or photographs within the same frame. Custom matting adds a personalized touch and elevates the overall presentation of the artwork.
Practical Considerations
Protection
In addition to enhancing visual appeal, matboards serve a practical purpose by providing a buffer between the artwork and the frame, preventing damage from moisture, dust, and physical contact.
Versatility
Matboards are versatile and can be used with various framing styles, including traditional, contemporary, and eclectic. Experiment with different mat colors, textures, and thicknesses to achieve the desired look for your framed canvas art prints.
Replacement
Over time, matboards may become discolored or damaged due to exposure to light and environmental factors. Consider periodically replacing matboards to maintain the integrity and appearance of your framed artwork.
Part Six
Maintenance and Glare Reduction
Here's some extra (optional) steps you can take to ensure your artwork remains pristine and looks its best for years to come.

You can take extra steps to preserve the beauty and longevity of your framed canvas art prints by protecting against various environmental factors.
Maintenance
Maintaining the beauty and integrity of your framed canvas art prints is essential for preserving their aesthetic appeal and longevity. Here are some essential maintenance tips to keep your artwork looking pristine:
1. Regular Dusting
- Use a soft, dry microfiber cloth or a feather duster to gently remove dust from the surface of the framed canvas art prints.
- Start from the top of the artwork and work your way down to prevent dust from settling back onto cleaned areas.
- Pay special attention to the frame and corners, where dust tends to accumulate.
2. Avoid Direct Sunlight
- Display your framed canvas art prints away from direct sunlight, as prolonged exposure can cause fading and deterioration of colors.
- If sunlight is unavoidable, consider using UV-filtering glazing or applying a protective sealant to minimize damage.
3. Control Humidity Levels
- Maintain stable humidity levels in the environment where your framed canvas art prints are displayed to prevent warping or mold growth.
- Use a dehumidifier or humidifier as needed to regulate humidity, especially in areas prone to fluctuating moisture levels.
4. Handle with Care
- When handling framed canvas art prints, always use clean, dry hands to avoid transferring oils, dirt, or moisture to the artwork.
- Lift and carry the artwork with both hands, supporting the frame evenly to prevent stress on the canvas or frame joints.
5. Inspect for Damage
- Periodically inspect your framed canvas art prints for any signs of damage, such as loose or missing hardware, cracks in the frame, or tears in the canvas.
- Address any issues promptly to prevent further deterioration and preserve the integrity of the artwork.
6. Professional Maintenance
- Consider seeking professional assistance for more extensive cleaning, restoration, or framing repairs.
- Professional framers and conservators have the expertise and tools to assess and address any maintenance or preservation needs your artwork may require.
Anti-Reflective Glass or Acrylic
Minimizing glare and enhancing visibility are essential for showcasing your framed canvas art prints in their best light. Consider the following options for anti-reflective glazing.
Anti-Reflective Glass
Opt for museum-grade or conservation glass with anti-reflective coatings to reduce glare and maximize clarity. This type of glass provides excellent UV protection while maintaining the integrity of colors and details in the artwork.
Anti-Reflective Acrylic
Acrylic glazing offers lightweight and shatter-resistant alternatives to traditional glass. Look for acrylic sheets with anti-reflective properties, which provide similar benefits in terms of glare reduction and UV protection.
Proper Cleaning and Maintenance
Regardless of the glazing material used, regular cleaning and maintenance are essential for preserving clarity and visibility. Use a soft, lint-free cloth and a mild glass cleaner to remove dust, fingerprints, and other contaminants from the surface of the glazing.
All Done
You did it!
If you need some prints to apply what you just learned, head over to my shop!


